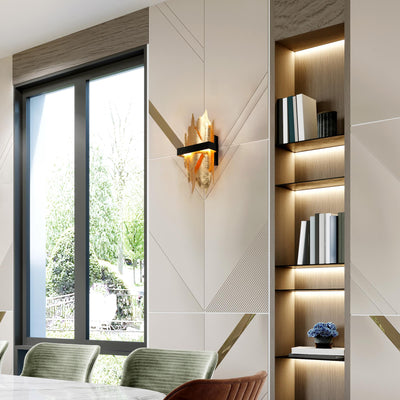
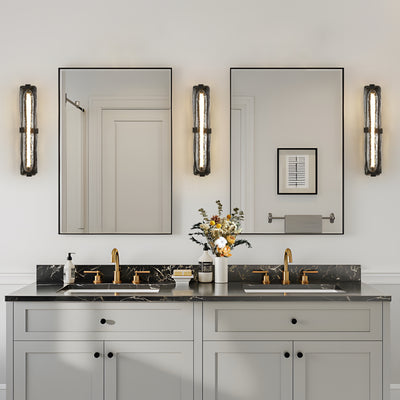
Store


How to Install or Adjust a Pendant Without Stress
Ever opened the box on a pendant light… and instantly felt overwhelmed?
The wires, the parts, the height—you’re not alone. Installing or adjusting a pendant can feel intimidating, but with a few clear steps (and the right mindset), it’s absolutely manageable—even for beginners. Whether you’re hanging it yourself or communicating with an installer, knowing what to expect makes the whole process smoother.

Here’s a stress-free guide to installing or adjusting a pendant like a pro—without the panic.
1. Know Your Ceiling Height First
Before you even open the box, take a quick measurement.
- Standard rule: For open spaces, hang the bottom of the pendant at least 7 feet from the floor.

- Over surfaces like islands or tables? 30–36 inches above the surface is your sweet spot.

📏 This one detail makes the biggest difference—no eye-level lights or stubbed foreheads later.
2. Unpack and Identify the Parts
Lay everything out on a clean surface. Most pendants include:
-
A canopy (the part that attaches to the ceiling)
-
A downrod or cord
-
The light body or shade
-
Wire connectors and mounting screws

🪄 Pro tip: If your pendant includes multiple rods, they’re often modular. You can remove or combine them to adjust the hanging height.

3. Turn Off the Power (Always!)
This one’s non-negotiable.
Go to your breaker box and shut off power to the room before doing anything else. Test the wires with a voltage tester just to be sure.
⚠️ Safety first—no stylish light is worth a shock.

4. Use an Extra Set of Hands (If You Can)
Even if the fixture is light, installation is smoother with someone nearby to hold the pendant while you wire it in.
-
Have one person hold the fixture in place
-
The other can match the wires (black to black, white to white, ground to ground)
- Use wire nuts to secure, and tuck the wires neatly into the ceiling box
👯 Teamwork makes installation less stressful—and a lot faster.

5. Adjust the Height Before Securing
If your pendant has a cord, gently slide the canopy up or down until it’s at the right height.
If you’re using rods, remove or add sections as needed before final tightening.

-
Step back, double-check the height visually.
-
Is it centered? Does it feel balanced in the room?

📐 Take your time here—this is where good lighting starts to feel intentional, not improvised.
6. Tighten, Test, and Step Back
Once the height feels right:
-
Tighten all the screws and mounting hardware.
- Restore power at the breaker.
-
Flip the switch—and admire your work.

💡 If everything lights up and feels level, you’re done!
Bonus Tips: For Slope or Vaulted Ceilings
Many pendants come with swivel canopies or adjustable chains—perfect for sloped ceilings.

-
Make sure your fixture lists sloped ceiling compatibility
- Use a chain or flexible cord fixture if your ceiling has a dramatic pitch

🏡 Not sure? Send a photo of your ceiling to your electrician or lighting supplier—they’ll guide you to the right setup.
Bringing It All Together
Installing or adjusting a pendant doesn’t have to be stressful. With the right prep and a little patience, you can confidently bring your lighting vision to life—no panic, no guesswork, just clarity and calm. Whether it’s your first install or your fifth, knowing what to expect gives you the freedom to focus on what matters most: how it transforms your space.
Next Up: How to Style One Room with Three Layers of Light (Without Making It Too Complicated)